


Course Walkthrough
Front 9-- Back 9
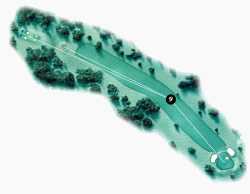
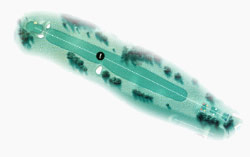
Hole #1 (Par 4)
Fairway bunkers left and trees right make this a difficult driving hole. Two bunkers guard the left and right front of the green, so approach shots to front pins must be precise. Approaches to a rear right flag need to feed toward the pin from the center of the green.
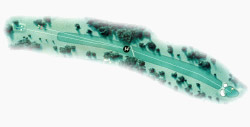
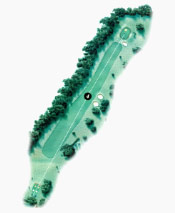
Hole #2 (Par 5)
Fairway slopes from right to left with a lateral hazard down the left side. Favor the right side of this hole off the tee if you want to get there in two. Anything left will be blocked by a Revolutionary War-era tree (which is just as big as it is old) about 70 yards from the green and requires a great sweeping hook to get on in two. Most golfers lay up short of the creek that runs across the fairway, also about 70 yards in front of the green. The green is narrow but long, inviting you to go for it.

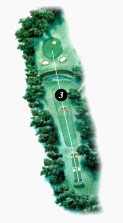
Hole #3 (Par 3)
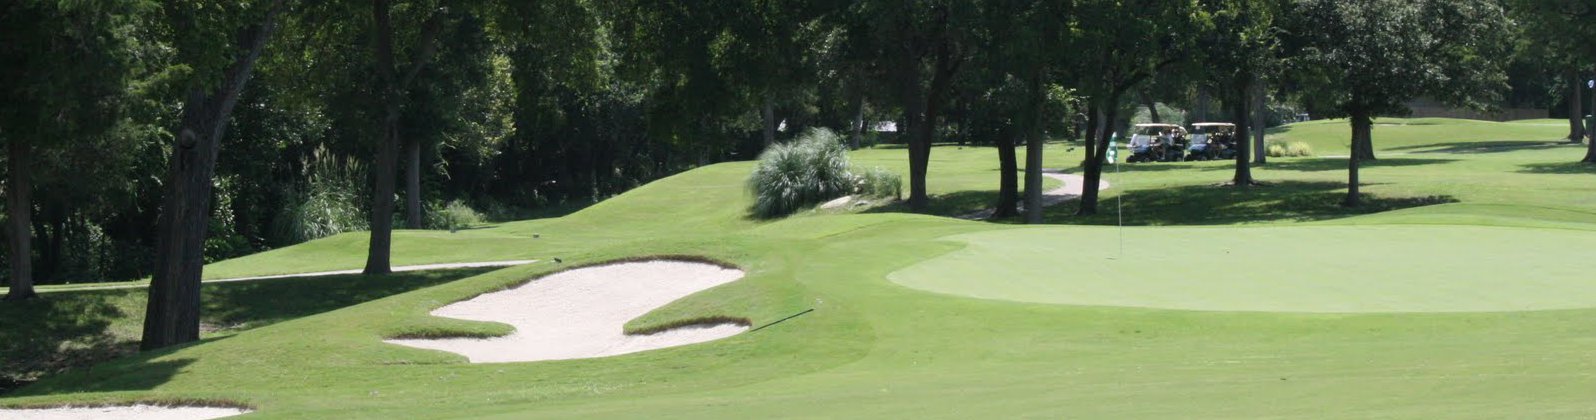
Tall trees on the left and right make for a narrow opening over a creek to the green, which is guarded by two bunkers in the front. Swirling winds can force drastic club changes.
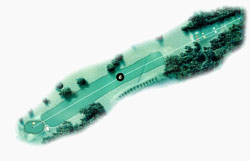
Hole #4 (Par 4)
With a lateral water hazard guarded by a fence on the left side and trees and bunkers on the right, this hole may seem difficult but the fairway is wide. The green is small and slopes back to front, where it is guarded by a bunker on the front right. Right and rear collection areas grab errant approaches, and if the pin is back or right it’s a very touchy chip or pitch to get close.
Hole #5 (Par 4)
This slightly doglegged right hole has OB and a fence line down the left side, bunkers on the right, and woods just beyond the dogleg, so tee shots must be accurate. The green slopes from back to front and left to right, and is guarded by a bunker on the front right and a steep slope on the left. Judge your approaches accordingly and take one more club than usual.
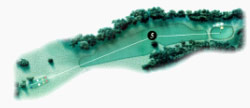
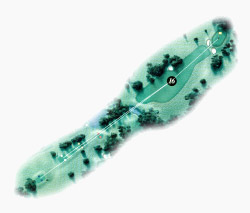
Hole #6 (Par 4)
Our No. 1 handicap hole is a long par 4 with a very narrow green. Although not usually a factor in play of the hole, another Revolutionary War-era tree is located left of the fairway about 300 yards off the tee (don’t miss reading the plaque marking the tree). If you miss the green with your approach shot it will be very difficult to get up and down for par because any chip or pitch from off the elevated green requires great touch to get close, no matter where the pin is located.
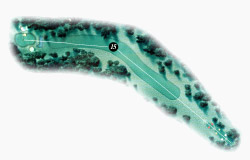
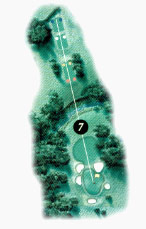
Hole #7 (Par 3)
This hole plays uphill over a creek to a two-tiered green, guarded by two bunkers and tall trees on the left, and one bunker on the right. Front pin placements are particularly troublesome because the front tier of the green is extremely narrow and hard to hit, and a safe approach to the top tier leaves a treacherous downhill putt.
Hole #8 (Par 4)
This hole has a wide fairway with trees on both sides. Blast away, then take care to feed any approach to a middle or left flag from right of the pin. The right to left sloping green is protected in front by bunkers on the left and right sides. This is one of the course’s few birdie opportunities.

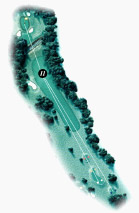
Hole #9 (Par 4)
This hole doglegs slightly from left to right. With the lightning-struck demise of a large tree that dominated the right side of the dogleg, the big hitters now bomb it instead of taking care to stay left off the tee. The green slopes sharply from back to front, and is guarded in front by bunkers on both sides. You must stay below this hole if you want to birdie it.